Your rim lock won’t latch properly, the bolt jams when you try to close the door, or the key won’t turn—these are more than just minor inconveniences. They compromise your home’s security and can make daily routines frustrating. Fortunately, most rim lock issues stem from simple causes like misalignment, debris buildup, or worn components, all of which are fixable with the right approach.
This guide walks you through every step of diagnosing and resolving common rim lock problems, based on verified techniques from trusted sources. You’ll learn how to properly remove old hardware, prepare the door surface, align the lock and striker plate, and address sticking latches, jammed bolts, loose fittings, and key-related failures. By following these evidence-backed steps, you’ll restore smooth operation and long-term reliability—without needing to replace the entire lock.
Understanding Rim Locks and Their Common Issues
What Is a Rim Lock?
Rim locks are surface-mounted door locks that attach directly to the face of a door, rather than being embedded into the door edge like mortise locks. They are commonly found on older homes, interior doors, and in settings where minimal door modification is desired. The lock body is secured with screws on the door’s surface, and the latch or bolt engages with a strike plate mounted on the door frame.
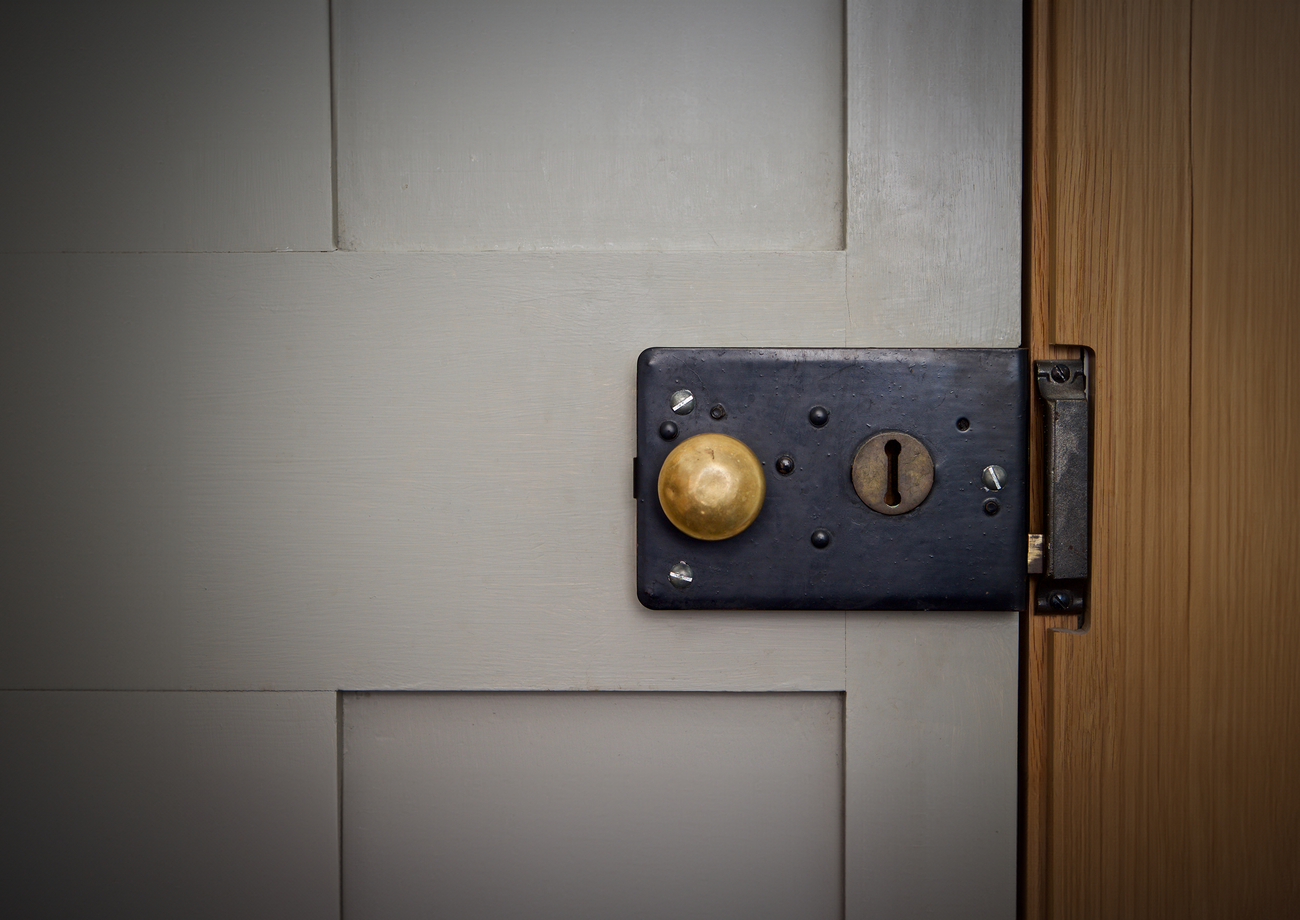
These locks come in various styles—keyed, keyless (with a snib or sliding bolt), and handed (left or right) to match door swing direction. Their straightforward installation and classic appearance make them a popular choice for both functional and decorative purposes.
Common Problems That Arise
Rim locks are generally reliable, but several recurring issues can affect their performance and security:
- Sticking latches: The latch fails to retract smoothly, often due to misalignment, debris buildup, or worn components.
- Jammed bolts: The locking bolt becomes stuck in the extended or retracted position, commonly caused by a misaligned strike plate or internal debris.
- Loose fittings: Mounting screws loosen over time, leading to rattling or misalignment, which compromises both function and security.
- Key-related problems: Keys may not turn, get stuck, or fail to engage the lock mechanism—often due to dirt, lack of lubrication, or worn internal parts.
These issues can stem from improper installation, lack of maintenance, or natural wear. Left unaddressed, they can lead to compromised security or difficulty accessing rooms. Fortunately, most problems are fixable with basic tools and routine care.
Choosing the Correct Rim Lock for Your Door
Determining Door Handing
Rim locks are manufactured for either left-handed or right-handed doors, meaning the lock must match your door’s swing direction. To identify the correct handing:
- Stand on the side of the door where the hinges are located.
- Face the door and observe the direction it opens.
- If the door opens toward you and the hinges are on the left, it’s a left-handed door.
- If the hinges are on the right, it’s a right-handed door.
Using the wrong handing will result in improper latch alignment and poor function. If you’re unsure, refer to a reliable rim lock handing guide for visual confirmation.
Selecting the Right Locking Mechanism
Choose a locking mechanism based on your security and privacy needs:
- Key-operated rim locks provide enhanced security and are ideal for bedrooms, offices, or entry doors where unauthorized access must be prevented.
- Snib (sliding bolt) locks allow the door to be locked from the inside without a key, making them suitable for bathrooms or private rooms where convenience is key.
Consider whether you need a lock that can be secured from both sides or only from one. This choice affects both functionality and safety.
Matching Style and Finish
Select a rim lock that complements your door and interior or exterior design:
- Finishes vary widely—polished brass, satin chrome, antique bronze, and matte black are common options.
- Materials include brass, steel, and zinc alloy, each offering different durability and aesthetic appeal.
- Styles range from traditional Victorian designs to sleek, modern minimalist profiles.
Ensure the lock’s finish and design align with your property’s architectural character. A well-matched lock enhances both function and visual harmony.
Removing Old Door Hardware Before Installation
Before installing a new rim lock, it’s essential to remove all existing door hardware to ensure a clean, secure fit. This step prevents misalignment and allows for proper preparation of the door surface. Follow these steps carefully to disassemble the old fittings.

Disassembling the Turn-and-Release Mechanism
- Locate the small grub screw on the release side of the turn-and-release mechanism.
- Use the correct Allen key to loosen the grub screw.
- Once loosened, carefully remove both parts of the thumb turn.
- Set the components aside in a safe place to avoid loss.
This step disengages the internal mechanism, allowing safe removal of the handles.
Removing Door Handles and Mortice Bar
- Identify the fixing screws on each backplate of the door handles.
- Use a screwdriver to remove both screws from each side.
- Gently pull the handles away from the door.
- Withdraw the mortice bar that connects the two handles through the door’s thickness.
Ensure the bar is fully removed to prevent interference during new lock installation.
Extracting the Sash Lock and Striker Plate
- Locate the two screws securing the sash lock to the edge of the door.
- Remove both screws using a screwdriver.
- Carefully slide the sash lock out of the door.
- Remove the striker plate from the door frame by unscrewing its two securing screws.
This clears the door and frame of all old hardware, preparing the surface for the new rim lock installation.
Filling and Sanding Old Holes
Properly preparing the door surface after removing old hardware ensures a clean, durable finish for your new rim lock. Addressing imperfections left behind prevents misalignment and strengthens the final installation.
Addressing Protrusions and Marks
After removing the old sash lock and other fittings, inspect the door for any raised areas, screw holes, or marks left by previous fixings. Small protrusions can interfere with the new lock’s alignment and finish.
- Use a drill bit slightly smaller than the original screw size to carefully remove any raised wood or debris.
- Work slowly to avoid enlarging the hole or damaging surrounding timber.
- Once the surface is smooth, wipe away dust with a dry cloth before proceeding.
Using Two-Part Filler for Larger Cavities
The cavity left by the sash lock requires a durable filler that won’t shrink or crack over time.
- Use a two-part filler specifically designed for wood repairs and larger voids.
- Mix approximately a golf ball-sized amount of filler with a pea-sized amount of hardener.
- Adjust the mix ratio based on temperature—warmer conditions reduce working time, so mix smaller batches.
- Apply the filler directly into the cavity, ensuring it’s evenly distributed.
Sanding for a Flush Finish
Allow the filler to cure fully before sanding. Rushing this step can result in uneven surfaces or damage to the cured material.
- Use medium-grit sandpaper (120–150) to gently smooth the filled area.
- Sand in the direction of the grain to avoid scratches.
- Check frequently by running your hand over the surface—stop when it feels flush with the surrounding wood.
- Wipe away dust with a damp cloth before painting or installing the new lock.
Positioning and Installing the Rim Lock
Marking the Lock’s Position
Begin by positioning the rim lock body centrally on the middle rail of the door. This placement ensures a balanced appearance and provides a comfortable operating height. Hold the lock in place and use a pencil to mark along its top edge—this line serves as a consistent reference point for all subsequent measurements and drilling.
Measuring for the Mortice Bar
Turn the lock over and measure two critical dimensions:
– The distance from the narrow edge of the lock to the center of the mortice opening.
– The distance from the top edge of the lock to the same center point.
Transfer these measurements precisely to both sides of the door. This ensures the mortice bar hole will be accurately aligned, allowing the threaded bar to pass through the door without misalignment.
Securing the Lock with Temporary Screws
Drill a 12 mm hole through the marked position to accommodate the mortice bar. Next, drill pilot holes for the rim lock fixings using a bit slightly smaller than the screws—this prevents wood splitting while ensuring a secure grip. Temporarily secure the lock using a standard Pozi-drive screw instead of the decorative screws. This protects the finish of the decorative screws for final installation and allows for adjustments before painting or finishing.
Fitting the Striker Plate and Door Knobs
Aligning and Installing the Striker Plate
Proper alignment of the striker plate is critical for smooth door operation and long-term reliability. Begin by positioning the striker plate so it aligns precisely with the rim lock body when the door is closed. Use a pencil to mark the three edges of the plate that will sit flush against the architrave (door frame).
- Use a straight edge and a sharp Stanley knife to score along each pencil line. This creates a clean, defined edge and minimizes the risk of splintering the wood during chiseling.
- Carefully remove the waste material using a sharp chisel. For better control, especially in tight spaces, consider using the chisel upside down to pare away small amounts of timber gradually.
- Once the recess is shaped to fit the plate flush with the frame, drill pilot holes for the mounting screws. Temporarily secure the striker plate using sacrificial screws—this allows for final alignment checks before the permanent installation.
Choosing the Right Door Knob Set
The door knob set must be compatible with the rim lock’s design and function. Selecting the correct components ensures proper operation and a secure fit.
- Ensure the rose plates on the knob set are removable, not fixed. The side of the door with the rim lock does not require a rose plate, while the opposite side does. Removable roses allow the knob set to be properly aligned and installed.
- Choose a door knob set that uses a threaded square mortice bar to connect the two knobs through the door. This bar is essential for transferring the turning motion from one knob to the other and securing the lock mechanism.
- After aligning the knobs and inserting the mortice bar, lock the knobs in place using the small grub screws provided. Tighten these screws securely but avoid over-tightening, which can damage the threads or distort the knob.
Common Rim Lock Problems and How to Fix Them
Fixing a Sticking Latch
A sticking latch is one of the most common rim lock issues, often caused by misalignment, debris buildup, or lack of lubrication. Start by checking the alignment between the latch and the strike plate. If the door closes unevenly or the latch doesn’t fully engage, the strike plate may need adjustment.
- Inspect the latch mechanism for visible debris such as dust, paint flakes, or grime.
- Use compressed air to blow out the lock cavity and remove loose particles.
- Apply a dry lubricant like graphite powder to the moving parts—avoid oil-based lubricants, which attract more dirt over time.
- If the latch still sticks after cleaning and lubrication, the internal spring or latch mechanism may be worn. In this case, replace the entire lock.
Resolving a Jammed Bolt
A jammed bolt typically results from misalignment between the lock body and the strike plate, or from internal debris obstructing the bolt’s movement.
- Close the door and observe the bolt’s path. If it doesn’t fully extend or retract, the strike plate is likely misaligned.
- Loosen the strike plate screws slightly and adjust its position so the bolt slides smoothly into the recess.
- Use compressed air to clear debris from the bolt channel and lock body.
- If the bolt remains stuck, disassemble the lock carefully to inspect internal components. Clean any corroded parts or replace worn springs and bolts.
- Reassemble and test the lock. If issues persist, consider replacing the entire lock unit.
Addressing a Loose or Rattling Lock
A loose or rattling lock can compromise security and cause operational noise. This usually stems from loose mounting screws or worn hardware.
- Tighten all mounting screws on the lock body and strike plate using the correct screwdriver or Allen key.
- Check for stripped screw holes. If the wood is damaged, use wooden toothpicks or a wood filler to reinforce the hole before reinserting the screw.
- Inspect the latch and lock body for wear. If components are loose or damaged, replace them.
- Ensure the door frame is stable. A warped or shifting frame can cause the lock to rattle even when screws are tight.
Handling Key-Related Issues
Key-related problems—such as difficulty turning the key or a key that won’t insert—often stem from debris, lack of lubrication, or worn internal components.
- Insert a small amount of graphite powder into the keyhole and turn the key several times to distribute the lubricant.
- Avoid using oil-based lubricants, as they attract dust and can gum up the mechanism.
- Clean the keyhole with a dry brush or compressed air to remove accumulated debris.
- If the key still doesn’t turn smoothly, the lock cylinder may be worn. Consult a professional locksmith for inspection or replacement.
- In cases of repeated key failure, consider rekeying the lock or replacing the cylinder entirely.
Conclusion
Fixing rim lock issues starts with understanding the root cause—whether it’s misalignment, debris, wear, or loose components. Most problems can be resolved with careful inspection, cleaning, lubrication, and minor adjustments, avoiding the need for full replacement. The key is proper preparation: ensure the door surface is smooth, the striker plate is aligned, and all screws are secure before testing the lock.
For persistent issues like a jammed bolt or unresponsive key, disassembling the lock to clean internal parts or replacing worn components is often the most effective solution. Always use graphite powder for lubrication, never oil-based products, to prevent future buildup. If the lock continues to fail after these steps, it’s time to consider a new unit that matches your door’s handing and security needs.
FAQ
What should I do if my rim lock latch won’t move?
Start by checking alignment between the latch and strike plate. If misaligned, gently adjust the strike plate. Clean debris from the latch mechanism using compressed air. Apply graphite powder lubricant to moving parts—avoid oil-based lubricants, which attract dirt. If the latch still won’t move, internal wear may require replacing the lock.
How can I fix a jammed bolt in my rim lock?
First, verify the strike plate is properly aligned. Loosen its screws slightly and reposition it so the bolt slides smoothly. Use compressed air to clear debris from the bolt channel. If the bolt remains stuck, disassemble the lock to inspect internal components. Clean or replace worn springs or bolts. Reassemble and test. Persistent jamming indicates the need for a full lock replacement.
Why is my rim lock loose or rattling?
Loose mounting screws are the most common cause. Tighten all screws on the lock body and strike plate. If screw holes are stripped, reinforce them with wood filler or toothpicks before reinserting screws. Check for worn latch or lock components. A loose frame or warped door can also cause rattling—ensure the door frame is stable and secure.
Can I fix a rim lock that won’t accept a key?
Begin by cleaning the keyhole with compressed air or a dry brush to remove debris. Apply graphite powder into the keyhole and turn the key several times to distribute the lubricant. Avoid oil-based lubricants. If the key still won’t turn, the lock cylinder may be worn. In this case, consult a locksmith for inspection or replacement of the cylinder.
How do I maintain a rim lock to prevent future problems?
Perform regular maintenance: clean the lock mechanism with compressed air every few months. Apply graphite powder lubricant annually to moving parts. Check and tighten mounting screws periodically. Inspect the strike plate alignment and replace worn components promptly. These steps prevent debris buildup, misalignment, and wear, ensuring long-term reliability.
Is it necessary to chisel a recess for the striker plate?
Yes, chiseling a recess is necessary for a flush, secure fit. Without it, the striker plate will sit proud, causing misalignment and poor latch engagement. Score the marked lines with a Stanley knife before chiseling to prevent splintering. Use a sharp chisel and work carefully to create a clean, precise recess that matches the plate’s thickness.