Your door knob lock won’t turn, the latch is stuck, or the handle wobbles—these common issues can be frustrating, especially when they compromise security or make daily routines harder. The good news is that most of these problems stem from simple causes like dirt buildup, loose screws, misalignment, or moisture damage, and they’re usually fixable with basic tools and a few minutes of effort. This step-by-step guide walks you through diagnosing and resolving the most frequent door knob lock problems, from cleaning and lubricating the mechanism to realigning the strike plate and tightening internal components. You’ll learn how to identify the root cause, apply the right fixes, and implement maintenance habits to keep your locks working smoothly for years to come.
Understanding Common Door Knob Lock Problems
Identifying the exact nature of your door knob lock issue is the first step toward a lasting fix. Many problems stem from simple, preventable causes like debris, wear, or minor misalignment. By recognizing the symptoms and their likely origins, you can avoid unnecessary repairs or replacements. Below are the most common issues, their telltale signs, and the root causes behind them.
Stuck or Jammed Door Latch
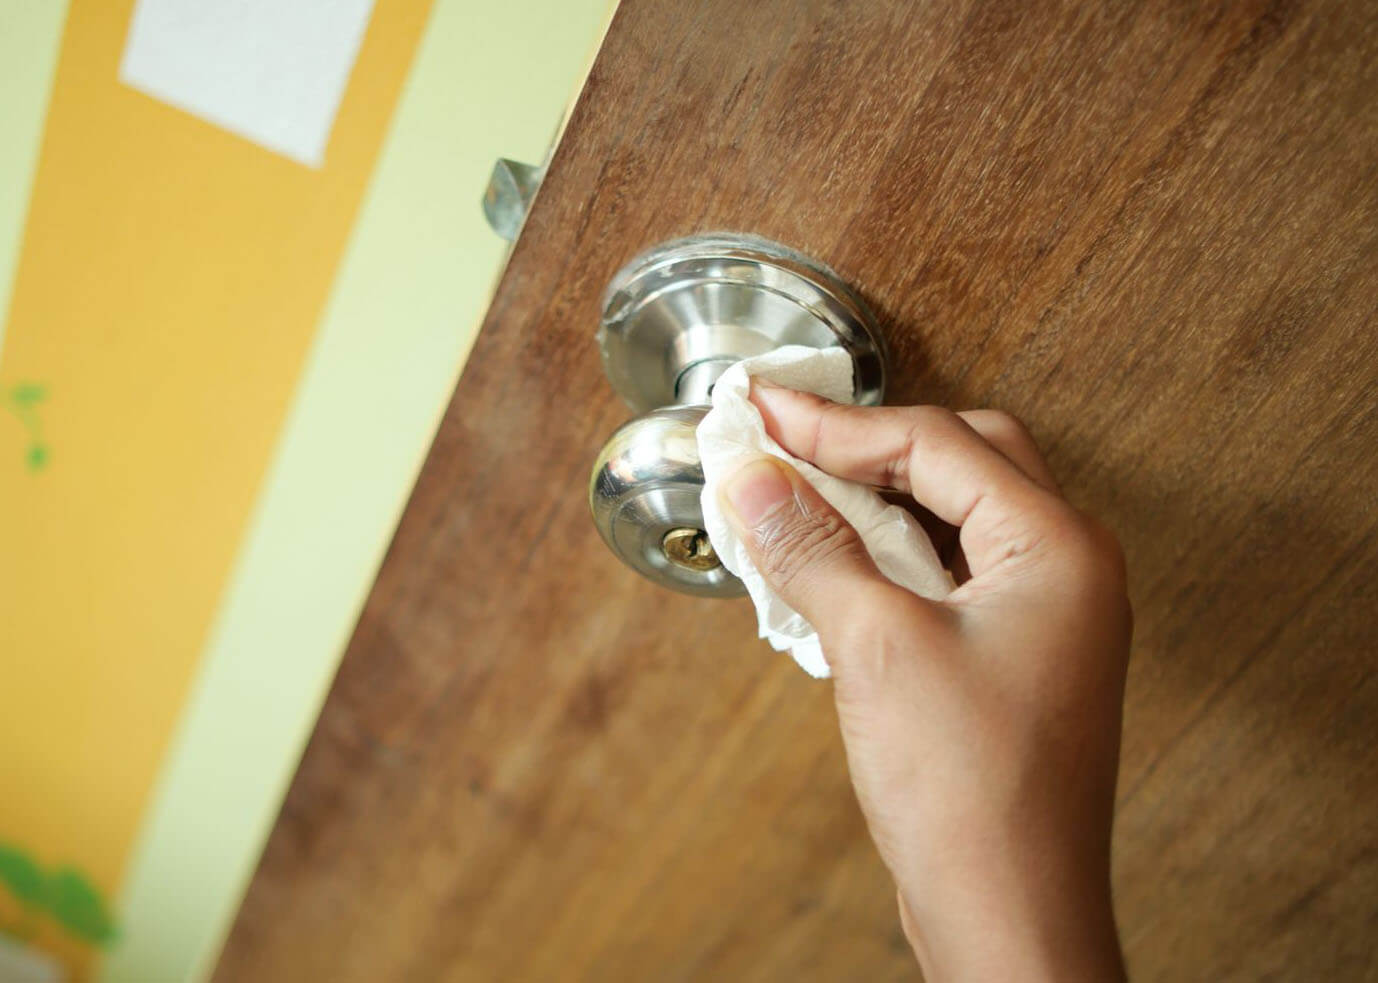
A latch that won’t retract when the handle is turned is one of the most frequent lock problems. This often prevents the door from closing or opening smoothly.
- Latch fails to retract when handle is turned.
- Door won’t close fully or requires force.
- Visible debris or rust inside the latch mechanism.
- Strike plate is misaligned or too tight.
Common causes include dirt or grime buildup, a bent latch, or misalignment between the latch and strike plate. Over time, wood expansion or shifting hinges can also cause the latch to bind.
Key Won’t Turn in the Lock
When a key refuses to turn, it can leave you locked out or unable to secure a door. This issue typically involves the lock cylinder or internal components.
- Key turns only partially or not at all.
- Key feels stiff or gritty when inserted.
- Key bends or breaks easily.
- Lock makes grinding or clicking noises.
Likely causes include a dry or dirty cylinder, worn key, internal pin damage, or a broken cam. Avoid using oil-based lubricants like WD-40, as they attract dust and worsen the problem.
Misaligned Door Lock
Misalignment occurs when the latch doesn’t properly engage with the strike plate, causing the door to not close securely or jam.
- Latch misses the strike plate entirely.
- Door closes but doesn’t latch.
- Visible gap between latch and strike plate.
- Door rubs against the frame when closing.
This is often due to loose hinges, warped doors, or shifting frames. Wood expands and contracts with humidity, which can alter the door’s position over time.
Loose Door Handle or Wobbly Lockset
A handle that wobbles or moves excessively when turned indicates loose hardware or internal wear.
- Handle feels loose or rattles when turned.
- Screws are visible or partially backed out.
- Handle slips or spins without engaging the latch.
- Internal components feel loose when inspected.
Causes include loose mounting screws, worn set screws, or a damaged spindle. Over time, repeated use can loosen fasteners or wear down internal parts.
Frozen or Stiff Lock Mechanism
In cold or humid climates, locks can freeze or become stiff due to moisture buildup inside the cylinder.
- Key won’t insert or turn in freezing temperatures.
- Lock feels extremely stiff or unresponsive.
- Ice forms around the keyhole or inside the cylinder.
- Lock makes a grinding sound when forced.
Moisture can freeze inside the lock, restricting pin movement. Avoid using heat sources like hairdryers or open flames. Instead, warm the key with your hands and apply a dry lubricant like graphite or silicone spray.
Tools and Safety Considerations
Essential Tools for Door Knob Repair
Having the right tools ensures you can diagnose and fix common door knob lock issues efficiently and safely. Most repairs require only basic hand tools, but selecting the correct ones for the task prevents damage to the lock or door.
- Screwdrivers (Phillips and flathead): Essential for removing screws from the handle, escutcheon plate, and strike plate. Use a precision screwdriver for small screws to avoid stripping.
- Needle-nose pliers: Useful for gripping small parts, removing broken screws, or adjusting tight springs and latch mechanisms.
- Allen wrench (hex key): Required for some modern door handles with hex-head screws. Check your handle’s manufacturer specifications.
- Rubber mallet or hammer: Needed to gently tap the strike plate into alignment or reseat components without damaging the door.
- Flashlight: Helps illuminate tight spaces inside the lock mechanism, especially when inspecting the latch or cylinder.
- Graphite or silicone lubricant: Not a tool per se, but critical for fixing sticky or stiff locks. Apply with a straw or brush attachment.
Always match the tool size to the screw or component. Using a larger or ill-fitting tool can strip screws or damage the lock housing.
Safety Precautions During Repair
Working on door locks involves small parts and sharp edges. Taking simple safety steps protects you and preserves the integrity of the hardware.
- Turn off power if applicable: For electronic locks, disconnect the power source before disassembling.
- Work on a clean, stable surface: Place removed parts on a soft cloth or tray to prevent scratches or loss.
- Avoid forcing components: If a screw won’t budge, stop and reassess. Forcing can break screws or damage the spindle.
- Wear eye protection: When using pliers or tapping parts, small metal fragments can fly.
- Keep children and pets away: Small parts like springs and screws are choking hazards.
- Label parts as you remove them: Use tape or a notepad to track screw positions and component order for reassembly.
Never use oil-based lubricants like WD-40—they attract dust and worsen lock stiffness. Stick to dry graphite or silicone spray for long-term performance.
Step-by-Step Repair for a Stuck or Jammed Door Latch
A stuck or jammed door latch often results from dust buildup, rust, or misalignment between the latch and strike plate. Over time, debris accumulates inside the mechanism, and metal components can corrode, restricting movement. Misalignment caused by shifting hinges or door warping can also prevent the latch from retracting smoothly. Addressing these issues promptly restores reliable operation.

Inspecting the Latch and Strike Plate
Begin by checking the physical alignment between the latch and strike plate. Close the door and observe whether the latch fully engages or rubs against the plate. If the latch doesn’t retract when the handle is turned, the mechanism may be obstructed.
Use a flashlight to inspect the latch bolt inside the door edge and the strike plate on the frame. Look for signs of wear, bending, or debris blocking the path.
Cleaning and Lubricating the Mechanism
- Remove the door handle by unscrewing the screws on both sides of the knob.
- Take out the latch assembly by sliding it out from the edge of the door.
- Clean the latch bolt and interior of the strike plate using a soft brush or cloth to remove dust, dirt, and grime.
- Apply a small amount of silicone spray lubricant to the latch bolt and the interior of the strike plate. Avoid oil-based products—they attract dust and worsen stiffness.
- Reinstall the latch and test the mechanism by turning the handle.
Adjusting Alignment for Proper Engagement
If the latch still doesn’t retract or engage properly, the strike plate may be misaligned. Mark the current position of the strike plate, then loosen the screws and gently tap it with a rubber mallet to shift it up, down, or sideways. Re-tighten the screws once the latch slides smoothly into place.
Test the door several times to confirm proper alignment. If the door still doesn’t close correctly, check hinge screws and tighten them to prevent further misalignment.
Fixing a Key That Won’t Turn in the Lock
When a key refuses to turn in the lock cylinder, the issue may stem from the key itself, the lock cylinder, or internal components like pins or the cam. Before assuming the lock is damaged, systematically diagnose the problem to avoid unnecessary repairs.
Testing with a Spare Key
Start by trying a spare key. If the spare key turns smoothly, the original key is likely worn, bent, or damaged. Avoid forcing a damaged key, as it may break inside the cylinder. If both keys fail to turn, the problem lies within the lock mechanism—possibly due to dirt, rust, or internal wear.
Cleaning and Lubricating the Cylinder
- Insert a small amount of dry graphite powder or silicone-based lubricant into the keyhole using a straw or applicator tip.
- Insert and remove the key several times to work the lubricant into the cylinder.
- Wipe away excess lubricant with a clean cloth.
Avoid oil-based sprays like WD-40—they attract dust and grime, leading to long-term buildup and increased stiffness.
Assessing Internal Damage
If the key turns only halfway and stops, the internal cam or spindle may be broken. This often occurs due to repeated force or age-related wear. In such cases, the cylinder is likely beyond repair.
Replacing the entire cylinder is the most reliable solution. If the lock continues to jam after cleaning and lubrication, or if the key turns freely but the latch doesn’t respond, internal damage is probable and replacement is recommended.
Correcting Misalignment in Door Locks
Wood doors naturally expand and contract with changes in humidity and temperature, which can cause the door to shift slightly in its frame. This movement often leads to misalignment between the latch and the strike plate, resulting in doors that don’t close properly or latches that miss their target entirely. Fortunately, this common issue is usually fixable with simple adjustments.
Checking Hinge and Screw Tightness
Before adjusting the strike plate, ensure the door’s hinges are secure. Loose hinge screws can cause the door to sag or shift, contributing to misalignment.
- Inspect all hinge screws on both the door and the frame.
- Tighten any loose screws using a screwdriver or drill.
- If screws are stripped or no longer hold, replace them with longer screws (e.g., 3-inch) to anchor into the wall stud for better grip.
- Test the door’s movement and latch alignment after tightening.
Adjusting the Strike Plate Position
If tightening the hinges doesn’t resolve the issue, the strike plate may need repositioning.
- Close the door and observe where the latch hits the strike plate.
- Mark the correct position on the strike plate using a pencil.
- Remove the strike plate by unscrewing it.
- Use a chisel to carefully remove a small amount of wood from the door frame to accommodate the new position.
- Reinstall the strike plate at the marked location and secure it with screws.
Note: Minor chiseling is often required to create space for the strike plate. Work slowly and test alignment frequently.
Verifying Door Alignment
After adjustment, test the door’s operation to confirm proper alignment.
- Close the door gently and check if the latch engages smoothly.
- Open and close the door several times to ensure consistent performance.
- If the latch still doesn’t align, repeat the adjustment process with a slightly different position.
Summary of Adjustment Process:
– Tighten hinge screws to stabilize the door.
– Mark the correct latch position on the strike plate.
– Re-position the strike plate using a chisel if needed.
– Secure the plate and test alignment repeatedly.
Stabilizing a Loose or Wobbly Door Handle
Over time, vibration from daily use and repeated turning can cause screws in a door knob lockset to gradually loosen, leading to a wobbly or unstable handle. This instability not only affects usability but can also strain internal components like the spindle and latch mechanism. Addressing it early prevents further wear and potential failure.
Tightening Visible and Hidden Screws
Start by tightening all visible screws on both the interior and exterior sides of the handle. Use a screwdriver or drill with the correct bit size to avoid stripping the screw heads. If the handle still feels loose, proceed to access hidden screws:
- Remove the escutcheon plate (the decorative cover around the lock) by unscrewing the small screws holding it in place.
- Once removed, expose the internal screws that secure the lock mechanism to the door.
- Tighten these screws firmly, but avoid over-tightening, which can strip the threads or damage the door.
Inspecting Internal Components
After tightening, inspect the internal parts for signs of wear or damage:
- Check the spindle (the central rod connecting both handles) for bending or excessive play.
- Look for worn or loose set screws that secure the handles to the spindle.
- Examine the latch and strike plate alignment, as misalignment can contribute to handle instability.
Replacing Worn Parts
If tightening screws and inspecting components doesn’t resolve the looseness, internal wear is likely. Common replacements include:
- A new spindle if it’s bent or worn.
- A replacement set screw if the existing one is stripped or too loose.
- A complete lockset if multiple components are damaged or outdated.
Replacing worn parts restores stability and ensures reliable operation. Always match the replacement to the original lockset type and size.
Dealing with a Frozen or Stiff Lock Mechanism
Moisture trapped inside a door lock cylinder can freeze in cold weather, causing the internal pins to seize and making the key impossible to turn. This is especially common in exterior doors exposed to snow, ice, or high humidity. The expansion of frozen water restricts movement, leading to a stiff or completely locked mechanism.
Thawing Ice in the Lock Cylinder
- Warm the key gently in your hands for 30–60 seconds to transfer body heat to the metal.
- Insert the key slowly and turn it back and forth slightly to help break up ice crystals.
- Avoid using open flames, hair dryers, or hot water—extreme heat can warp metal or damage internal components.
- If the key still won’t turn, wait a few minutes and repeat the warming process.
Using Appropriate Lubricants
After the ice has melted:
– Apply a small amount of dry graphite powder or silicone-based lubricant into the keyhole.
– Use a straw or applicator to direct the lubricant deep into the cylinder.
– Turn the key several times to distribute the lubricant evenly across the pins.
– Wipe away any excess to prevent dust buildup.
Avoid oil-based sprays like WD-40—they attract dirt and can worsen stiffness over time.
Preventing Future Freezing
To reduce the risk of future freezing:
– Lubricate exterior locks every 6 months, especially before winter.
– Use a lock cover or weatherproof cap to shield the cylinder from snow and rain.
– Ensure the door closes properly to prevent moisture from seeping into the lock area.
– Keep the keyhole free of debris and grime that can trap moisture.
Regular maintenance significantly extends the life of your lock and prevents costly repairs.
Preventive Maintenance and When to Replace a Lock
Regular care can prevent minor issues from escalating into major problems. Simple, consistent maintenance extends the lifespan of your door knob lock and ensures reliable operation. By addressing small signs of wear early, you avoid the inconvenience and potential security risks of a malfunctioning lock.
Regular Lubrication and Cleaning Schedule
Lubricate your locks at least once or twice a year, especially exterior locks exposed to weather. Use dry graphite powder or a silicone-based lubricant—never oil-based sprays like WD-40, which attract dust and can worsen stiffness over time. Apply lubricant directly into the keyhole using a straw or applicator, then turn the key several times to distribute it evenly. Wipe away excess to prevent grime buildup.
- Clean the keyhole and surrounding area monthly to remove dust and debris.
- Wipe down the handle and spindle with a dry cloth after cleaning.
- Inspect the latch and strike plate for signs of wear or misalignment.
- Check hinge screws quarterly and tighten if loose.
- Avoid slamming doors, as repeated impact accelerates wear on internal components.
Recognizing When Replacement Is Necessary
Even with proper care, some locks eventually fail. Replace your lock if it remains loose, corroded, or jams after cleaning and lubrication. Persistent looseness may indicate worn internal parts like the spindle or spring.
Corrosion inside the cylinder can compromise security and prevent proper key operation. If the lock no longer holds the door securely or fails to engage the strike plate consistently, it’s time for a replacement. When in doubt, consult a professional locksmith to assess safety and functionality.
Conclusion
Most door knob lock issues stem from simple, fixable causes like dirt buildup, loose screws, misalignment, or moisture damage. With a few basic tools and a little patience, you can address these problems yourself—whether it’s cleaning and lubricating the mechanism, realigning the strike plate, or tightening internal components. Regular maintenance, such as lubricating locks twice a year and checking hinge screws, prevents minor issues from becoming major frustrations.
If a lock remains stiff, loose, or unresponsive after cleaning and tightening, it’s time to consider replacement. Internal wear or corrosion can compromise security, and a reliable lock is essential for peace of mind. When in doubt, consult a professional locksmith to ensure your door remains secure and functional.
FAQ
Why does my door latch not retract fully?
A door latch may fail to retract due to dirt buildup, rust, or misalignment between the latch and strike plate. Over time, debris can obstruct the mechanism, while changes in humidity or loose hinges can shift the door’s position. Cleaning the latch and strike plate with a dry cloth and applying silicone lubricant often resolves the issue. If the latch still doesn’t retract, check the strike plate alignment and adjust it by slightly chiseling the frame to allow proper engagement.
Can I use WD-40 on a lock?
No, avoid using WD-40 on door locks. It’s oil-based and attracts dust, dirt, and grime, which can worsen stiffness and lead to long-term clogging. Instead, use dry graphite powder or a silicone-based lubricant, which provide smooth operation without residue. Apply with a straw or applicator, then turn the key several times to distribute the lubricant evenly.
What should I do if my key breaks inside the lock?
If part of the key is visible, gently remove it with needle-nose pliers. Avoid forcing it, as this can damage the cylinder. If the key is fully inside or broken off flush, do not attempt to extract it yourself—call a professional locksmith. Attempting to remove a broken key without proper tools can worsen the damage and make repair more difficult.
How often should I lubricate door locks?
Lubricate door locks once or twice a year, especially exterior locks exposed to weather. Use dry graphite or silicone spray to prevent friction and corrosion. Regular lubrication helps maintain smooth operation and extends the life of the mechanism. Avoid oil-based products, which attract debris and increase stiffness over time.
When should I replace a lock instead of repairing it?
Replace a lock if it remains loose, corroded, or jams after cleaning, lubrication, and tightening screws. Persistent issues may indicate worn internal parts like the spindle, spring, or cylinder. If the lock no longer securely holds the door or fails to engage the strike plate consistently, replacement is safer and more reliable than repeated repairs.